Imagine this: you’ve got a Raspberry Pi sitting on your desk, ready to take on the world of Internet of Things (IoT). But wait—how do you connect it securely to the cloud? Enter Virtual Private Cloud (VPC), the ultimate tool for creating a private, secure network for your IoT projects. In this tutorial, we’ll walk you through everything you need to know about Raspberry Pi VPC IoT setup, step by step.
So, why should you care about Raspberry Pi VPC IoT? Well, let’s break it down. IoT is all about connecting devices to the internet, but doing so safely is crucial. VPC helps you create a secure environment where your Raspberry Pi can communicate with other devices and cloud services without exposing your data to the wild west of the internet. This is especially important if you’re working on projects that involve sensitive information, like home automation or remote monitoring.
This tutorial isn’t just about setting up a Raspberry Pi; it’s about empowering you to build smart, secure systems that can scale as your projects grow. Whether you’re a beginner or a seasoned maker, this guide will give you the tools and knowledge to take your IoT game to the next level. So grab your Pi, and let’s dive in!
Read also:Mastering Remoteiot Platform Ssh Download For Raspberry Pi Without Mac
What is Raspberry Pi VPC IoT and Why Should You Care?
Raspberry Pi VPC IoT might sound like a mouthful, but it’s actually pretty straightforward once you break it down. Let’s start with the basics: Raspberry Pi is a tiny, affordable computer that can be used for a wide range of projects, from media centers to robotics. IoT, or the Internet of Things, refers to the network of physical devices that are connected to the internet, allowing them to collect and exchange data.
VPC, or Virtual Private Cloud, is a cloud computing model that allows you to create a private network within a public cloud environment. By combining Raspberry Pi with VPC, you can build IoT systems that are both powerful and secure. This setup is perfect for projects that require reliable connectivity and data privacy, such as smart home systems, environmental monitoring, or industrial automation.
Here’s why you should care:
- Security: VPC ensures that your Raspberry Pi communicates securely with the cloud, protecting your data from unauthorized access.
- Scalability: VPC allows you to easily add more devices to your network as your project grows.
- Flexibility: With VPC, you can customize your network settings to meet the specific needs of your IoT project.
Getting Started: Setting Up Your Raspberry Pi
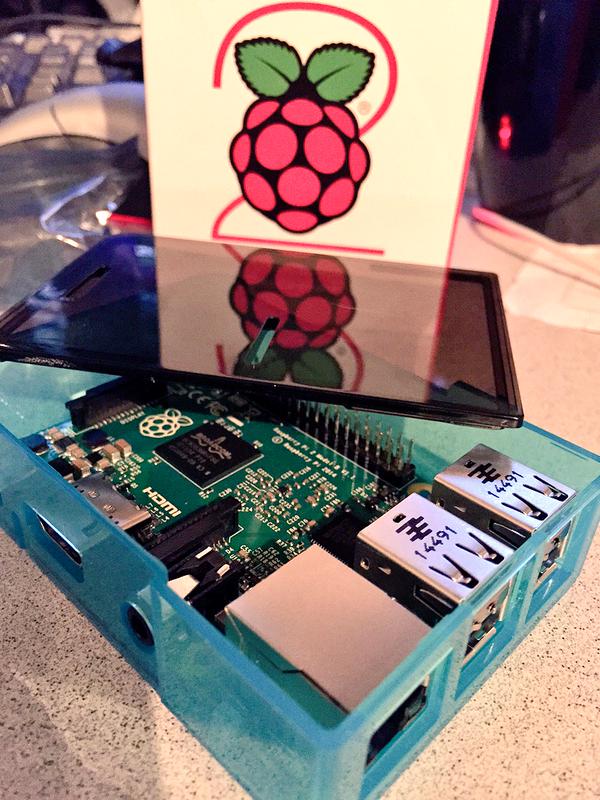
Before you can dive into the world of Raspberry Pi VPC IoT, you’ll need to set up your Raspberry Pi. Don’t worry—it’s easier than it sounds. Here’s what you’ll need:
What You’ll Need
- Raspberry Pi (any model will do, but the newer models have better performance)
- MicroSD card with Raspberry Pi OS installed
- Power supply
- Keyboard and mouse (optional, if you’re using a headless setup)
- HDMI monitor (optional)
Once you’ve got all your gear, follow these steps to get your Raspberry Pi up and running:
- Insert the microSD card into your Raspberry Pi.
- Connect your power supply to the Raspberry Pi.
- If you’re using a monitor, connect it to the HDMI port. Otherwise, you can use SSH to connect to your Raspberry Pi remotely.
- Boot up your Raspberry Pi and log in using the default username and password (usually "pi" and "raspberry").
Understanding VPC and Its Role in IoT
VPC is the backbone of any secure IoT system. Think of it as a virtual fortress that protects your devices and data from the outside world. By creating a private network within the cloud, VPC allows your Raspberry Pi to communicate with other devices and cloud services without exposing your data to potential threats.
Read also:Desi49com Your Ultimate Guide To Everything You Need To Know
Here’s how VPC works:
- Subnets: VPC divides your network into smaller segments called subnets, each with its own IP address range.
- Security Groups: These act like virtual firewalls, controlling inbound and outbound traffic to your devices.
- Route Tables: These determine how traffic is routed within your VPC.
When it comes to IoT, VPC is essential for ensuring that your devices can communicate securely with each other and with the cloud. Without VPC, your data could be vulnerable to attacks, making it a critical component of any IoT project.
Setting Up a VPC for Your Raspberry Pi IoT Project
Now that you understand the basics of VPC, it’s time to set one up for your Raspberry Pi IoT project. We’ll be using Amazon Web Services (AWS) for this tutorial, but the principles apply to other cloud providers as well.
Step 1: Create a VPC
Log in to your AWS account and navigate to the VPC dashboard. Click on “Create VPC” and enter a name for your VPC. You’ll also need to specify an IP address range (CIDR block) for your VPC. For most projects, the default range (10.0.0.0/16) will work just fine.
Step 2: Create Subnets
Once your VPC is created, you’ll need to create subnets to divide your network into smaller segments. Subnets allow you to group devices based on their function or location. For example, you might create one subnet for your Raspberry Pi and another for your cloud services.
Step 3: Configure Security Groups
Security groups are like virtual firewalls that control access to your devices. You’ll need to create a security group for your Raspberry Pi and specify which ports it can communicate on. For most IoT projects, you’ll want to allow traffic on ports 22 (SSH) and 80/443 (HTTP/HTTPS).
Connecting Your Raspberry Pi to the VPC
With your VPC set up, it’s time to connect your Raspberry Pi. This involves configuring your Pi to use the VPC’s IP address range and security settings. Here’s how:
Step 1: Update Your Pi’s Network Configuration
Log in to your Raspberry Pi and edit the network configuration file (usually located at /etc/network/interfaces). Add the following lines to specify your VPC’s IP address and subnet:
auto eth0
iface eth0 inet static
address [your Pi’s IP address]
netmask [your subnet mask]
gateway [your VPC’s gateway IP]
Step 2: Configure SSH
SSH (Secure Shell) allows you to connect to your Raspberry Pi remotely. To enable SSH, you’ll need to generate a key pair and add the public key to your Pi’s authorized_keys file. This ensures that only authorized users can access your device.
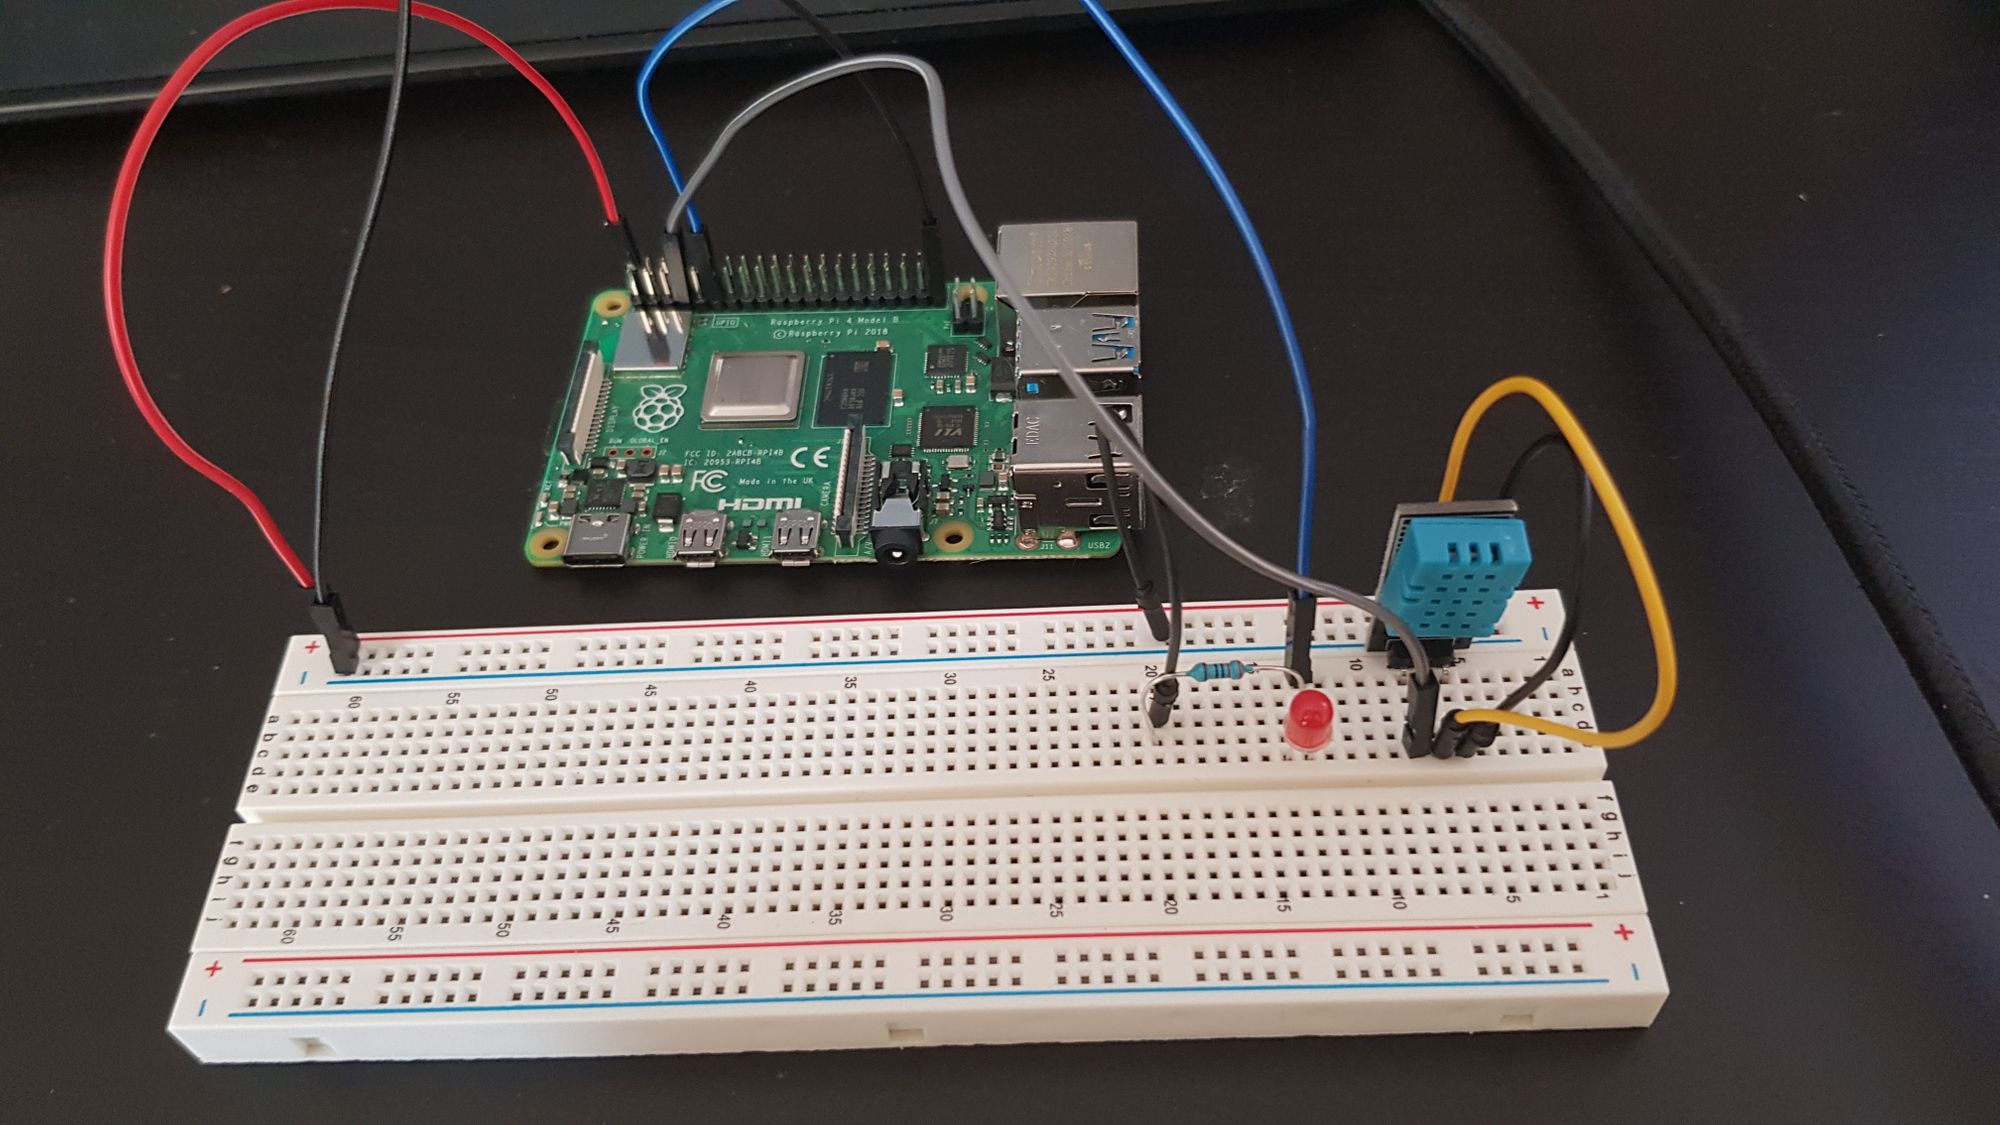
Building Your First IoT Project with Raspberry Pi and VPC
Now that your Raspberry Pi is connected to the VPC, it’s time to build your first IoT project. For this tutorial, we’ll create a simple temperature sensor that sends data to the cloud. Here’s what you’ll need:
- A Raspberry Pi
- A DS18B20 temperature sensor
- A breadboard and jumper wires
Follow these steps to set up your sensor:
- Connect the DS18B20 sensor to your Raspberry Pi using the breadboard and jumper wires.
- Install the necessary software on your Pi to read data from the sensor. You can use the Python library w1thermsensor for this.
- Write a Python script to read the temperature data and send it to your cloud service using an API.
Securing Your Raspberry Pi VPC IoT System
Security is a top priority when it comes to IoT. Even with VPC in place, there are still steps you can take to further secure your Raspberry Pi IoT system. Here are a few tips:
- Use Strong Passwords: Make sure your Raspberry Pi and cloud accounts are protected with strong, unique passwords.
- Enable Two-Factor Authentication: This adds an extra layer of security to your accounts.
- Keep Your Software Up to Date: Regularly update your Raspberry Pi’s operating system and any software you’re using to ensure you have the latest security patches.
Scaling Your Raspberry Pi VPC IoT Project
As your IoT project grows, you may find yourself needing to add more devices to your network. VPC makes this easy by allowing you to scale your network as needed. Here’s how:
Step 1: Add New Subnets
If you’re adding new devices that require different security settings, you can create new subnets within your VPC. This allows you to group devices based on their function or location.
Step 2: Update Security Groups
As you add new devices, you’ll need to update your security groups to ensure they have the appropriate access permissions. This might involve adding new rules or modifying existing ones.
Conclusion: Taking Your Raspberry Pi VPC IoT Project to the Next Level
And there you have it—a comprehensive guide to setting up a Raspberry Pi VPC IoT system. By following the steps outlined in this tutorial, you’ve taken the first step toward building secure, scalable IoT projects that can handle anything the future throws at them.
But don’t stop here! The world of IoT is full of possibilities, and with your Raspberry Pi and VPC in hand, you’re ready to explore them all. So go ahead, experiment, and see where your creativity takes you. And don’t forget to share your projects with the community—after all, the best part of making is sharing what you’ve made!
Got questions or feedback? Drop a comment below, and let’s keep the conversation going. Happy building!
Table of Contents
- What is Raspberry Pi VPC IoT and Why Should You Care?
- Getting Started: Setting Up Your Raspberry Pi
- Understanding VPC and Its Role in IoT
- Setting Up a VPC for Your Raspberry Pi IoT Project
- Connecting Your Raspberry Pi to the VPC
- Building Your First IoT Project with Raspberry Pi and VPC
- Securing Your Raspberry Pi VPC IoT System
- Scaling Your Raspberry Pi VPC IoT Project
- Conclusion: Taking Your Raspberry Pi VPC IoT Project to the Next Level