So, you’re here to dive deep into the world of remote IoT monitoring using SSH on a Mac, huh? Let’s face it—technology is evolving faster than ever, and staying connected to your IoT devices from afar has become more critical than ever. Whether you're a tech enthusiast, a small business owner, or just someone looking to simplify their workflow, remote IoT monitoring via SSH on a Mac can be your best friend. But where do you even begin? Don’t worry—we’ve got you covered!
Remote IoT monitoring isn’t just some buzzword—it’s a practical solution for managing your devices without needing to be physically present. Imagine being able to check the status of your smart home devices, industrial sensors, or even your office equipment from the comfort of your couch. Sounds cool, right? But before you jump in, you’ll need the right tools, knowledge, and maybe even a little bit of troubleshooting know-how.
In this guide, we’ll break down everything you need to know about remote IoT monitoring using SSH on a Mac. From setting up your environment to downloading the necessary software, we’ll walk you through each step. So grab a coffee, sit back, and let’s get started. Your IoT devices are waiting for you!
Read also:Remote Access For Raspberry Pi And Iot Devices Free Download Your Ultimate Guide
What Exactly is Remote IoT Monitoring?
Alright, let’s start with the basics. Remote IoT monitoring refers to the process of keeping tabs on your Internet of Things (IoT) devices from a distance. Think of it as giving your devices a virtual handshake without actually being there. Whether you’re monitoring temperature sensors in a greenhouse, tracking energy consumption in a smart home, or ensuring that your office printers are running smoothly, remote IoT monitoring makes it all possible.
Now, why is SSH so important in this context? Secure Shell (SSH) is like a digital lock-and-key system that allows you to securely connect to your devices over the internet. It’s not just about convenience—it’s also about security. With SSH, you can access your IoT devices without worrying about prying eyes or malicious attacks. And when you’re using a Mac, the process becomes even smoother because macOS is built on Unix, making SSH integration a breeze.
But hold up—what exactly does "remote IoT monitoring SSH download Mac" mean for you? Essentially, it’s all about downloading and setting up the right tools on your Mac to establish a secure connection with your IoT devices. We’ll cover that in detail later, but for now, just know that it’s a game-changer.
Why Should You Care About Remote IoT Monitoring?
Here’s the deal: IoT devices are everywhere. From smart fridges to industrial machinery, they’re revolutionizing the way we live and work. But managing these devices manually can be a nightmare, especially if you’re dealing with multiple systems spread across different locations. That’s where remote IoT monitoring comes in.
First off, it saves you time. Instead of running around to check each device individually, you can monitor everything from one central location. Secondly, it boosts efficiency. By keeping a close eye on your devices, you can quickly identify and resolve issues before they escalate. And last but not least, it enhances security. With SSH, you can rest assured that your data is protected from unauthorized access.
Think about it—whether you’re a homeowner, a business owner, or a tech professional, remote IoT monitoring offers something for everyone. It’s not just about convenience; it’s about taking control of your devices and making smarter decisions.
Read also:Mrdeepfake Unveiling The Digital Revolution And Its Impacts
Getting Started: Setting Up Your Environment
Before you dive headfirst into remote IoT monitoring, you’ll need to set up your environment. This involves preparing your devices, ensuring they’re connected to the internet, and configuring your Mac for SSH access. Here’s a quick checklist to get you started:
- Make sure your IoT devices are connected to a stable Wi-Fi network.
- Install any necessary firmware updates on your devices.
- Enable SSH on your IoT devices (most devices have this option in their settings).
- Take note of your device’s IP address—you’ll need it later.
Once you’ve got everything ready, it’s time to move on to the next step: downloading the right software on your Mac. But don’t worry—we’ll cover that in the next section. For now, just focus on getting your devices up and running.
Downloading SSH Tools for Your Mac
Now that your devices are ready, it’s time to equip your Mac with the right tools. macOS comes with a built-in Terminal app that supports SSH, so you don’t necessarily need to download anything extra. However, if you prefer a more user-friendly interface, there are plenty of third-party SSH clients you can explore.
Here are some popular options:
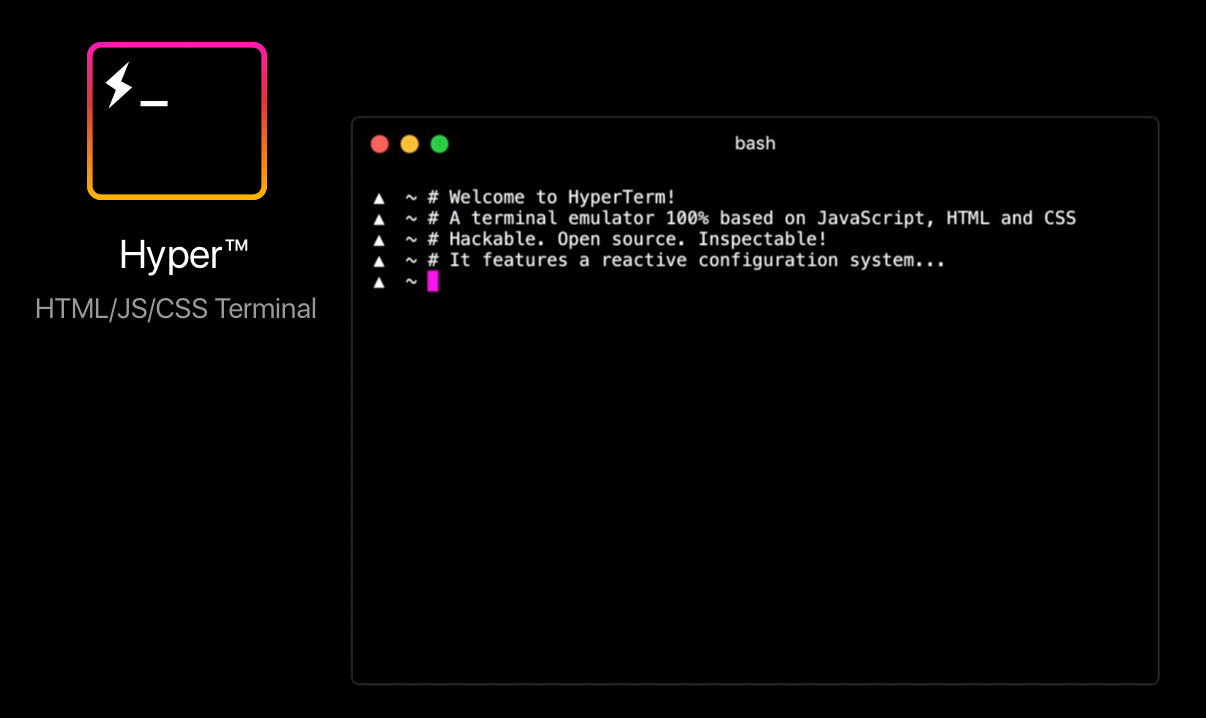
- Terminal: The default app on macOS. It’s simple, reliable, and gets the job done.
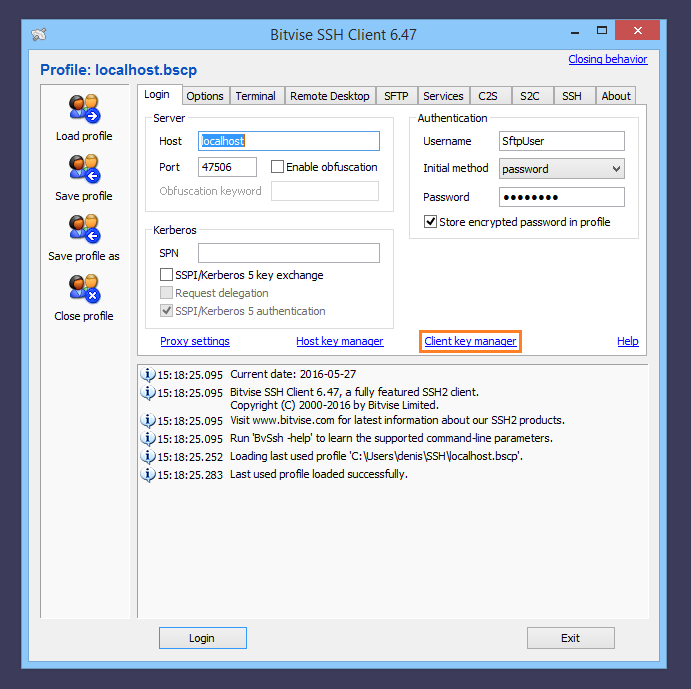
- PuTTY: A classic SSH client that’s also available for Mac users. It’s lightweight and easy to use.
- Termius: A modern SSH client with a sleek interface and additional features like session management.
For most users, the built-in Terminal app should suffice. But if you’re looking for something more advanced, Termius is definitely worth checking out. Downloading and installing these tools is straightforward—just follow the instructions on their respective websites.
Tips for Choosing the Right SSH Client
When selecting an SSH client, consider your specific needs. Are you looking for something simple and no-frills, or do you need advanced features like session saving and key management? Here are a few tips to help you decide:
- If you’re a beginner, stick with the built-in Terminal app. It’s free, and you don’t need to install anything.
- If you want more functionality, consider Termius or PuTTY. They offer additional features that can make your life easier.
- Always download software from trusted sources to avoid security risks.
Remember, the goal is to find a tool that works for you—not against you. So take your time and explore your options before making a decision.
Connecting to Your IoT Devices via SSH
With your environment set up and your SSH tools in place, it’s time to connect to your IoT devices. Here’s how you do it:
1. Open your chosen SSH client (e.g., Terminal).
2. Enter the following command, replacing "username" and "IP_address" with your actual credentials:
ssh username@IP_address
3. When prompted, enter your password.
4. If everything goes smoothly, you should now have a secure connection to your device.
It’s that simple! Of course, if you run into any issues, don’t panic. Troubleshooting is a normal part of the process, and we’ll cover some common problems later in this guide.
Best Practices for Secure Connections
Security should always be a top priority when working with SSH. Here are a few best practices to keep in mind:
- Use strong, unique passwords for your devices.
- Enable two-factor authentication (2FA) whenever possible.
- Regularly update your SSH client and firmware to patch any vulnerabilities.
- Limit access to trusted users only.
By following these guidelines, you can minimize the risk of unauthorized access and protect your devices from potential threats.
Monitoring Your IoT Devices
Once you’re connected to your devices, it’s time to start monitoring them. Depending on the type of device you’re working with, the process may vary slightly. However, most IoT devices offer some form of monitoring interface that you can access via SSH.
Here are a few common tasks you might perform:
- Checking system logs for errors or warnings.
- Monitoring resource usage (e.g., CPU, memory, storage).
- Verifying sensor readings (e.g., temperature, humidity).
- Running diagnostic tests to identify potential issues.
Some devices may even offer custom scripts or commands that you can run to automate certain tasks. If you’re not sure where to start, consult the device’s documentation or reach out to the manufacturer for guidance.
Automating Your Monitoring Process
Manual monitoring can be time-consuming, especially if you’re dealing with multiple devices. That’s where automation comes in. By setting up scripts or using third-party tools, you can streamline your monitoring process and save yourself a lot of hassle.
For example, you could write a script that periodically checks your device’s status and sends you an email if something goes wrong. Or you could use a monitoring platform like Nagios or Zabbix to keep an eye on everything from one central dashboard.
The possibilities are endless—just make sure you choose a solution that fits your needs and skill level.
Troubleshooting Common Issues
No matter how careful you are, issues can still arise. Whether it’s a failed connection or an unresponsive device, troubleshooting is an essential part of remote IoT monitoring. Here are some common problems and how to fix them:
- Connection Refused: Double-check your IP address and ensure that SSH is enabled on your device.
- Authentication Failed: Verify that you’re using the correct username and password.
- Network Issues: Ensure that your device is connected to the internet and that there are no firewalls blocking your connection.
If you’re still having trouble, don’t hesitate to reach out to the manufacturer’s support team or consult online forums for additional help. Chances are, someone else has encountered the same issue and found a solution.
When to Seek Professional Help
While DIY troubleshooting can be rewarding, there are times when it’s best to leave things to the experts. If you’re dealing with complex issues or sensitive data, it may be worth investing in professional support. After all, your peace of mind is worth the investment.
Staying Up-to-Date with the Latest Trends
The world of IoT is constantly evolving, and staying informed is key to getting the most out of your devices. Whether it’s new software updates, emerging technologies, or best practices, keeping up with the latest trends can help you optimize your remote IoT monitoring setup.
Here are a few resources to consider:
- Online Forums: Communities like Reddit and Stack Overflow are great places to connect with other IoT enthusiasts and share knowledge.
- Industry Blogs: Follow blogs from companies like Cisco, IBM, and Microsoft to stay updated on the latest developments.
- Conferences and Webinars: Attend virtual events to learn from industry experts and network with peers.
By staying informed, you can ensure that your remote IoT monitoring setup remains secure, efficient, and future-proof.
Conclusion: Take Action Today
Remote IoT monitoring using SSH on a Mac may sound intimidating at first, but with the right tools and knowledge, it’s a skill anyone can master. From setting up your environment to troubleshooting common issues, this guide has covered everything you need to know to get started.
So what are you waiting for? Download the necessary software, connect to your devices, and start monitoring your IoT setup today. And don’t forget to share your experience with others—knowledge is power, and together, we can make the world of IoT a safer and more efficient place.
Got any questions or feedback? Drop a comment below or share this article with your friends. Let’s keep the conversation going!
Table of Contents
- Remote IoT Monitoring SSH Download Mac: Your Ultimate Guide
- What Exactly is Remote IoT Monitoring?
- Why Should You Care About Remote IoT Monitoring?
- Getting Started: Setting Up Your Environment
- Downloading SSH Tools for Your Mac
- Connecting to Your IoT Devices via SSH
- Monitoring Your IoT Devices
- Troubleshooting Common Issues
- Staying Up-to-Date with the Latest Trends
- Conclusion: Take Action Today